Ecto Lounge Games
Isometric games and Unity
Isometric perspective in Unity
Contraversly the isometric perspective is achieved by switching from Perspective Projection on the relevant main camera to Orthographic.
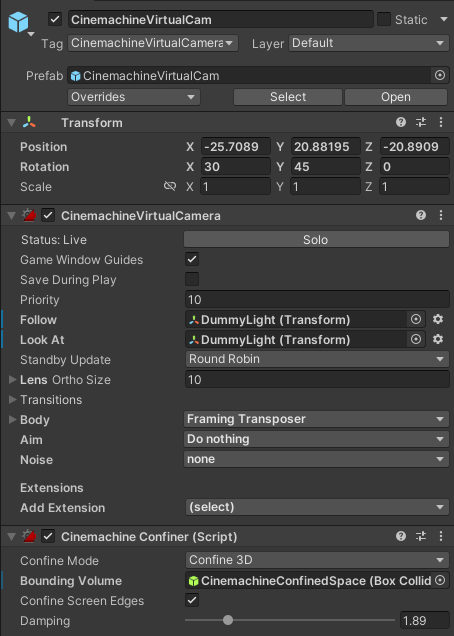
To achieve the well known perspective known from classic games, you elevate the camera and tilt it properly. This is done by altering the Rotation of the camera to X: -30 Y:45 Z 0 and Position to adequatly above the target in frame for instance Y: 5cd
![]()
You may notice that the view or frustrum is cut off. You can correct this by changing the Near and Far clipping planes of the camera. You have to fiddle with this for it to match your given setup, taking the elevation of the camera and distance to the target.
Confine the camera
While orthographic cameras are good keeping over sight of the area, there are inherent drawbacks. For instance, lets say your camera follows the mouse pointer. What happens if you move the cursor outside the game level area? the camera just pans along. You have to include some mechanic to either snap back or confine the camera to the relevant game area.
A straight forward way of implementing this is by utilizing the unity package Cinemachine, which is at the time of writing, well implemented, feature-rich and usable in current versions of Unity.
First, create an empty gameobject and add a BoxCollider component to it, size the box collider to fit your game level and add any padding to accomodate for the cameras offset. Proceed and grab Cinemachine from the Package Manager. Once downloaded, add a new cinemachine virtual camera. I will not go into the details on the setup of it in this post, but rather focus on the Cinemachine Component we need to use to encapsulate the camera.
When you have set up your virtual camera add a Cinemachine Confiner component. Set the confinement to the box collider previously defined, and done.